Markuswelder
Well-Known Member
Here's a few more, taken at night. You can still see detail inside of buildings, read the signage on the shopfront banners etc. Much nicer looking to my eye than just blown out patches of white. But that's just me. They're far from technically perfect, but I'm happy that they look pretty much like what I actually saw.


- Panasonic - DC-S5
- 28.0-70.0 mm f/2.8
- 70.0 mm
- ƒ/2.8
- 1/400 sec
- Center-Weighted Average
- Auto exposure
- -0.7
- ISO 1600
- Panasonic - DC-S5
- 28 - 70mm F2.8 DG DN | Contemporary 021
- 28.0 mm
- ƒ/4
- 1/30 sec
- Pattern
- Auto exposure
- ISO 800
- Panasonic - DC-S5
- LUMIX S 18/F1.8
- 18.0 mm
- ƒ/2
- 1/15 sec
- Center-Weighted Average
- Auto exposure
- -0.7
- ISO 100


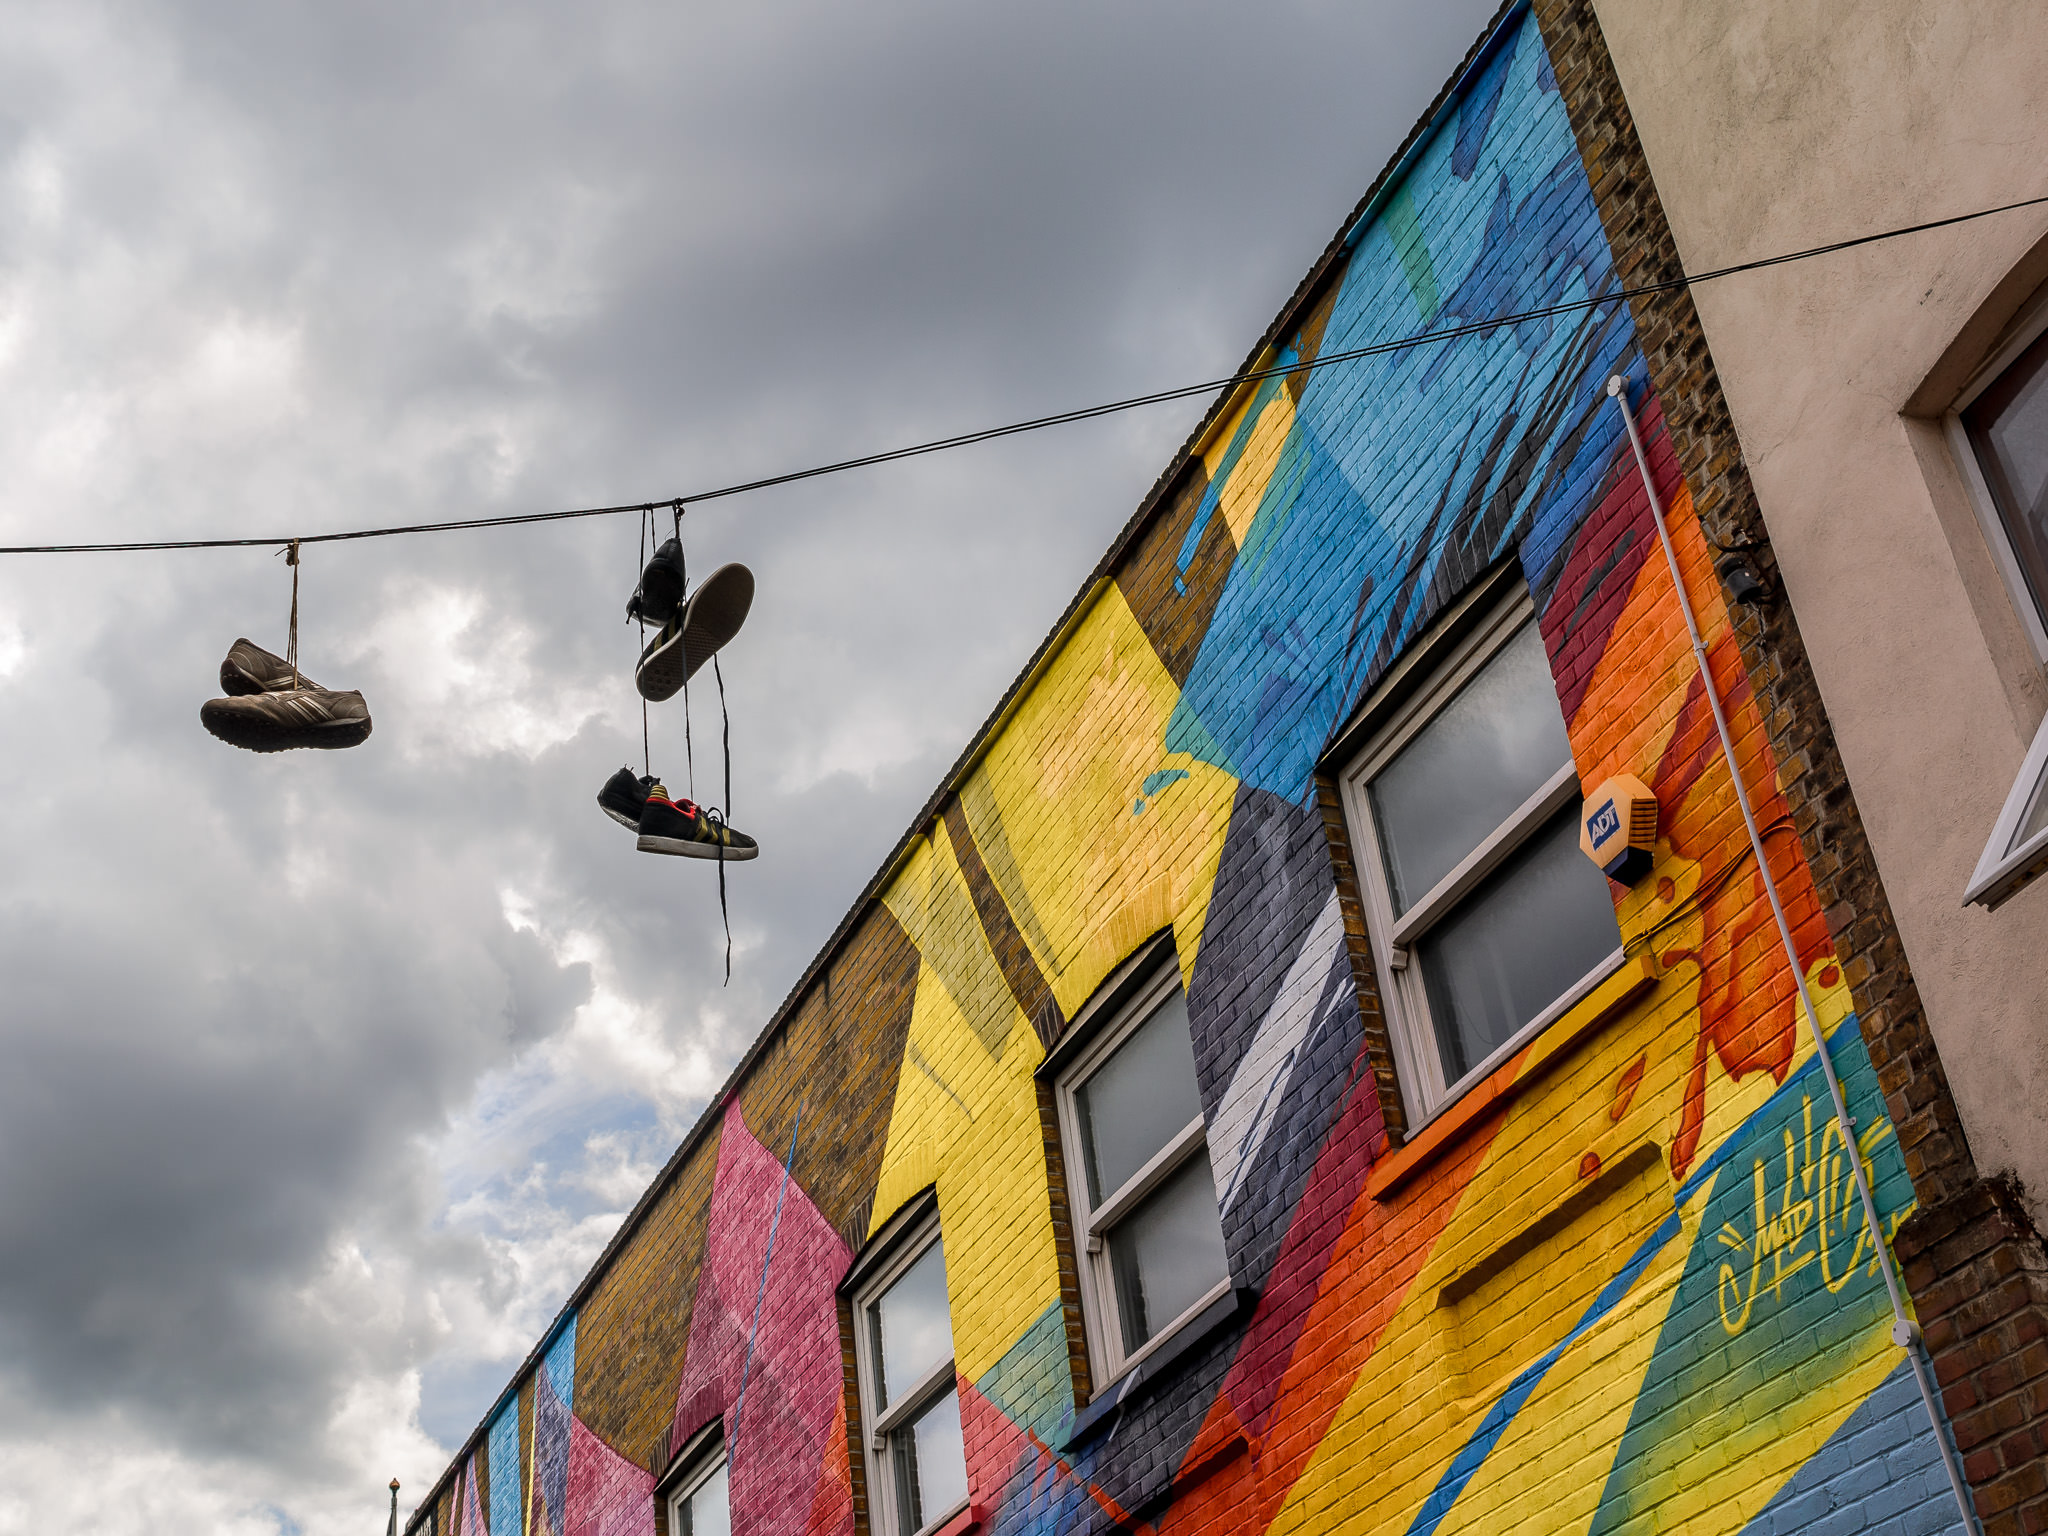
") (Excuse the soft, blurry looking patches here and there, was a bit of spray flying around getting all over my camera & lens. As well as me)
(Excuse the soft, blurry looking patches here and there, was a bit of spray flying around getting all over my camera & lens. As well as me)